Shade Net Installation Steps
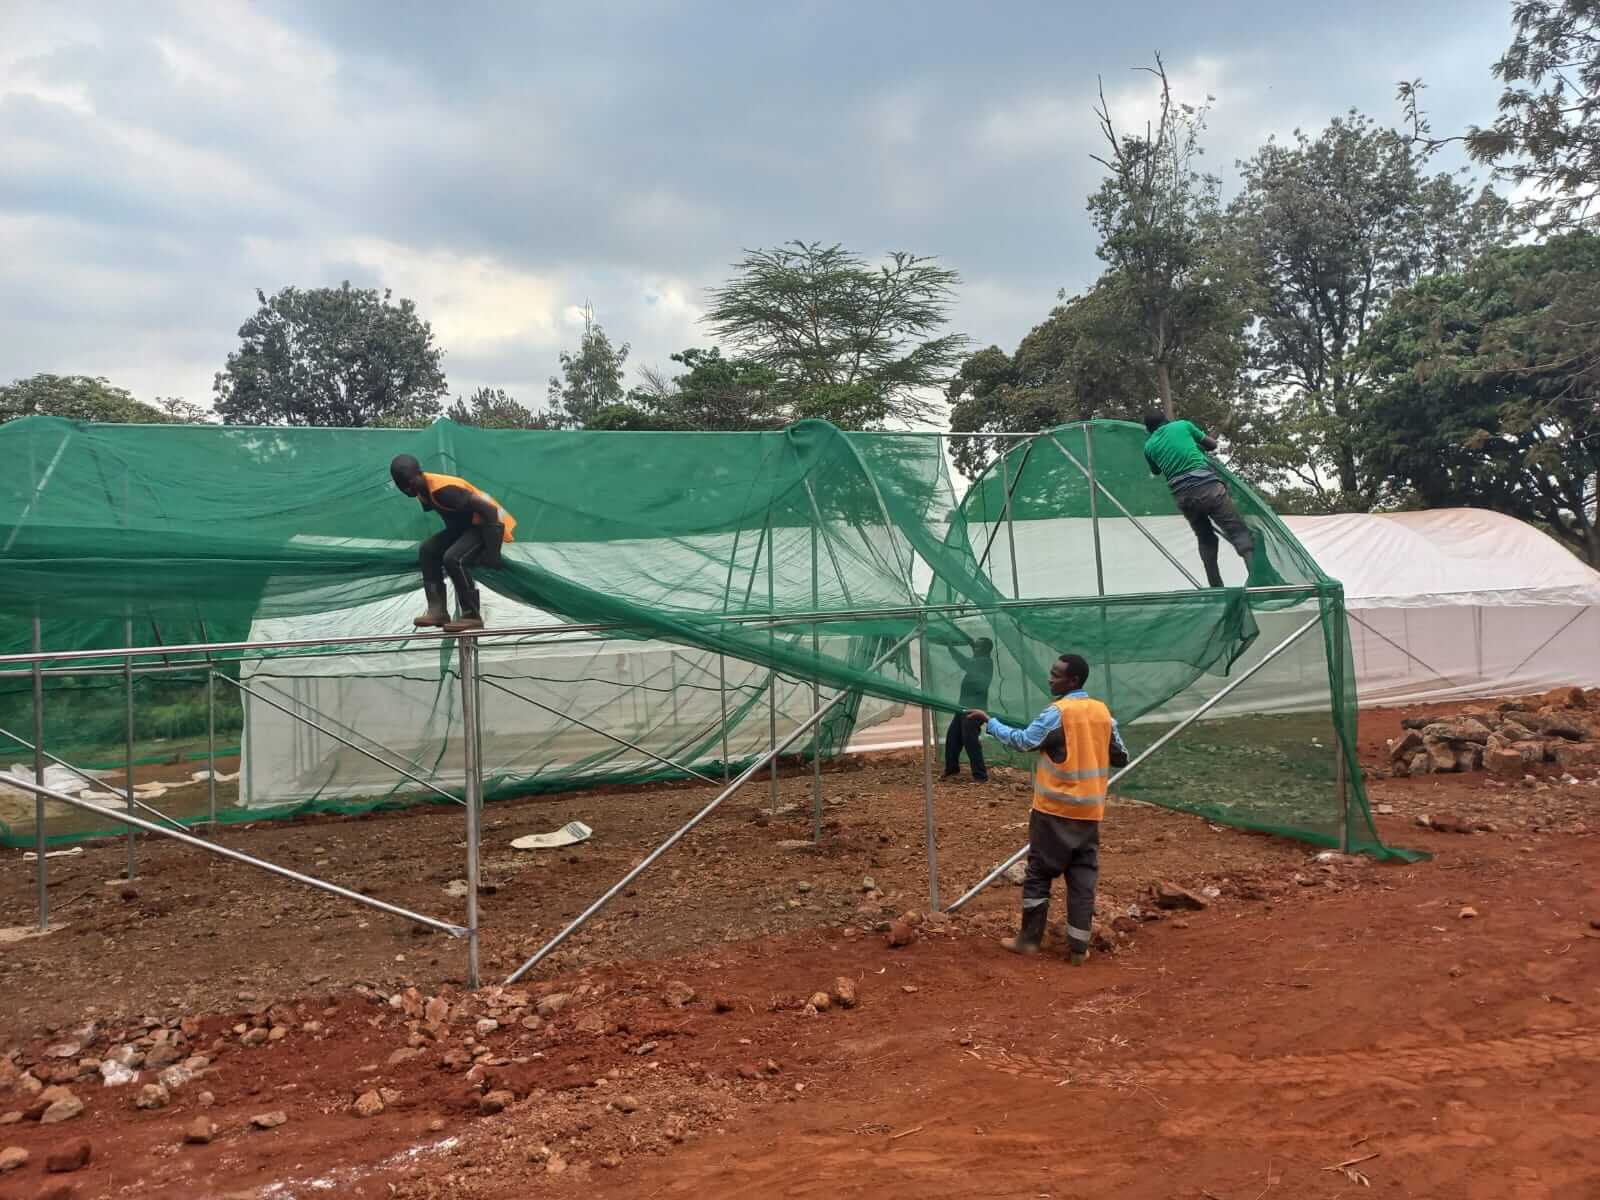
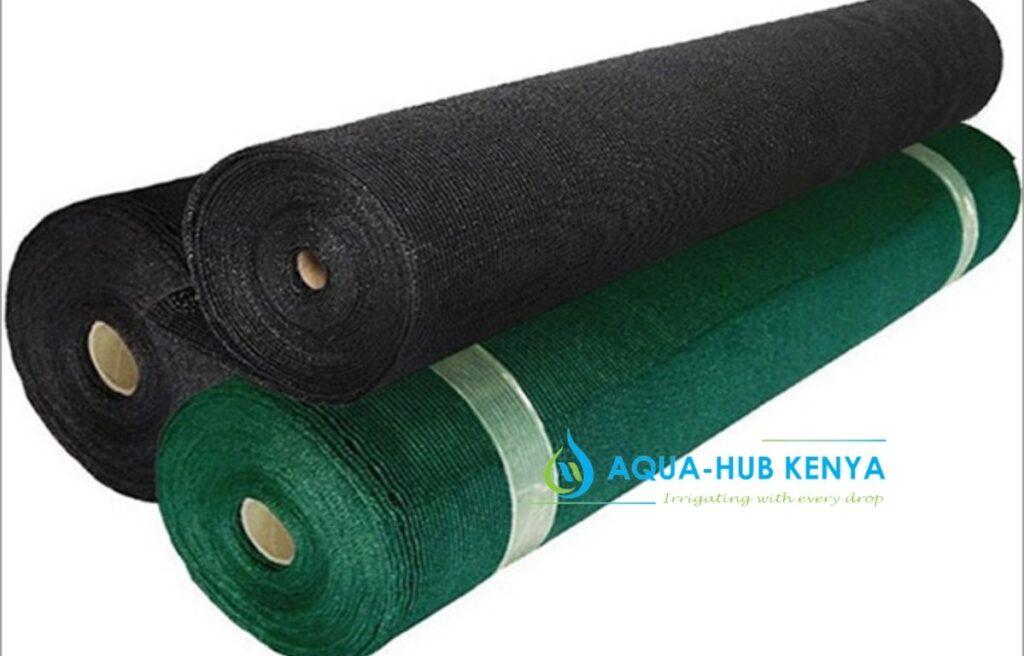
There are several Shade Net Installation Steps that can be employed during the shade net installation process. It is required that one follow these steps correctly to ensure proper installation. Shade nets are sheets of fabric or plastic that are used to provide shade and protect plants, animals, and people from the sun’s harmful ultraviolet (UV) rays. They are typically made of UV-stabilized polyethylene or polypropylene material. They also come in a variety of colors, including black, green, and white.
Shade nets are used in a wide range of applications, including agriculture, horticulture, and animal husbandry. They are also used in construction, sports, and recreation. In agriculture, they are used to create a controlled environment for crops, reducing water loss, and temperature fluctuation. They also help in protecting the plants from pests and diseases. In construction, they are used to protecting workers and equipment from the sun, and in sports and recreation. They are also used to provide shade in parks and playgrounds.
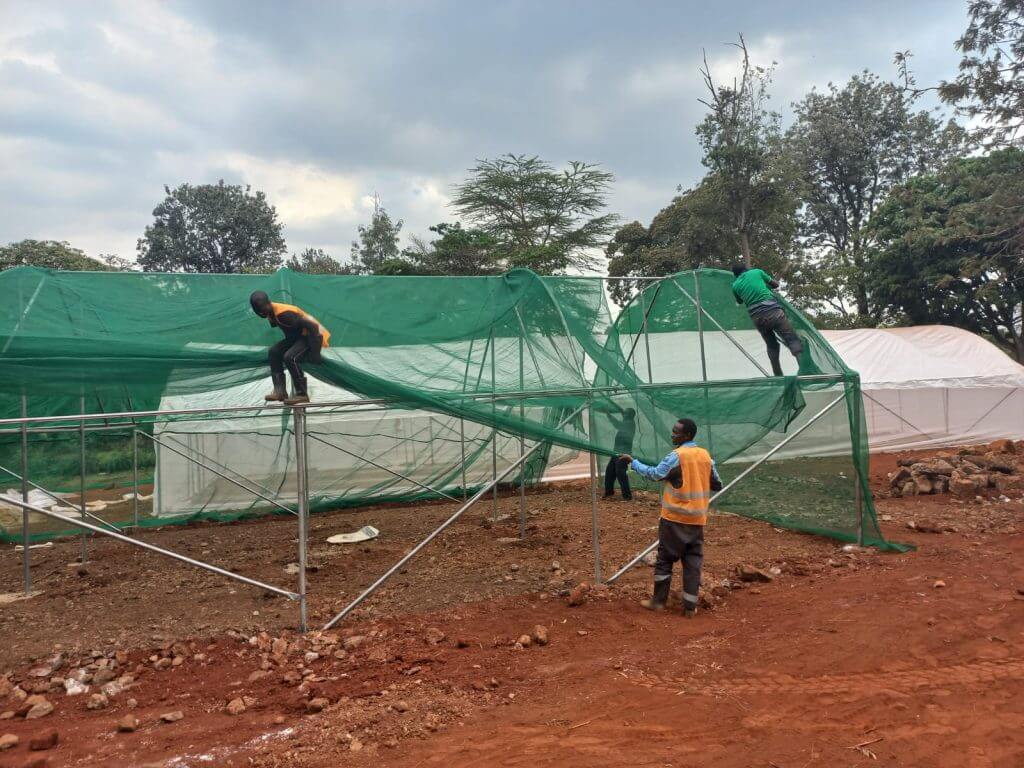
What is a nursery shade cloth?
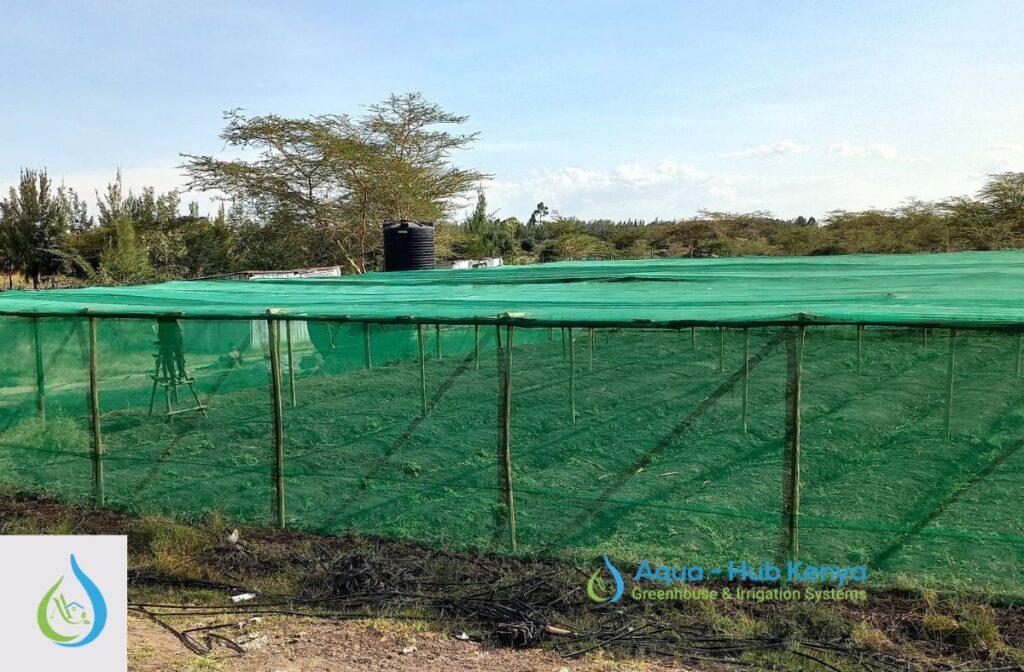
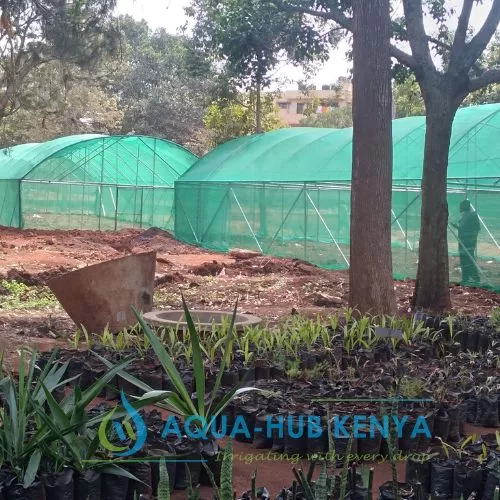
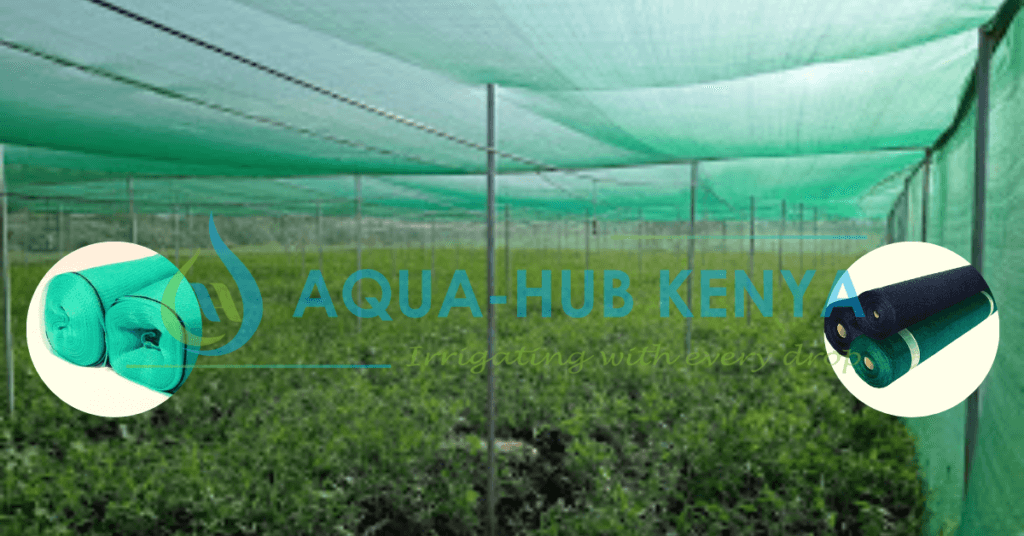
A nursery shade cloth is a type of shade net specifically designed for use in nurseries and greenhouses. It is made of a UV-stabilized fabric that blocks a certain percentage of the sun’s rays. Thus, providing protection for seedlings, young plants, and tender vegetation. The shade cloth can be made of different materials, such as polyethylene or polypropylene. The material is known for its durability and resistance to UV rays.
The shade cloth can be used to create a controlled environment in the nursery or greenhouse, by reducing the amount of direct sunlight that reaches the plants, while still allowing enough light to pass through for photosynthesis. This can help to prevent sun damage and heat stress, while also promoting healthy growth. Nursery shade cloth can also be used to provide protection from pests, such as birds, and to reduce wind damage. They are available in different shading percentages, anywhere from 30% to 90% depending on the need of the plants. Some nurseries also use them to create specific microclimate for plants that are sensitive to specific weather conditions.
What are the steps involved in Shade Net installation process?
The steps involved in the installation of a shade net are:
- Measure the area where the shade net will be installed to determine the appropriate size and number of nets needed.
- Gather the necessary tools and materials, such as poles, ropes, stakes, and a ladder or scaffolding (if needed).
- Clear the area of any debris or obstacles that may interfere with the installation.
- Install the poles or posts in the ground or on a solid surface, making sure they are also level and securely anchored.
- String ropes or cables between the poles to create a framework for the shade net.
- Attach the shade net to the ropes or cables using clips or ties.
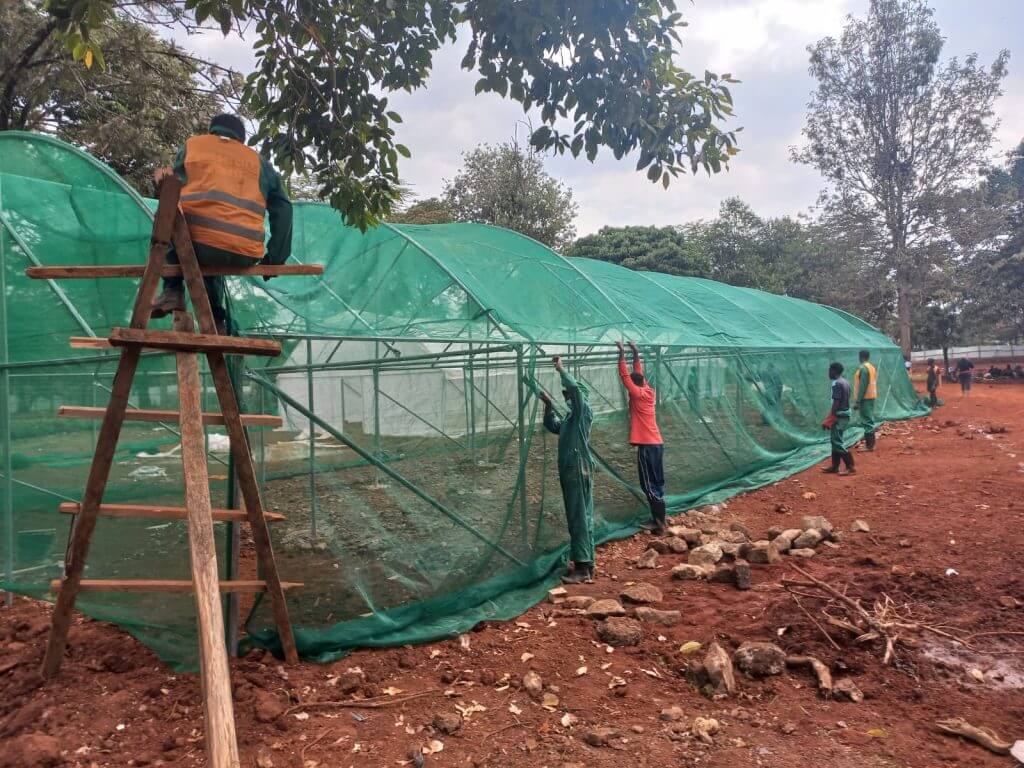
- Stretch the net taut to remove wrinkles and ensure proper shading coverage.
- Use stakes or weights to secure the bottom edges of the net to the ground.
- Inspect the installation for any issues, such as sagging or loose ropes, and make adjustments as necessary.
- Regularly check and maintain the shade net, tightening loose ropes and replacing worn or damaged parts as needed, to ensure that it also continues to provide effective shading.
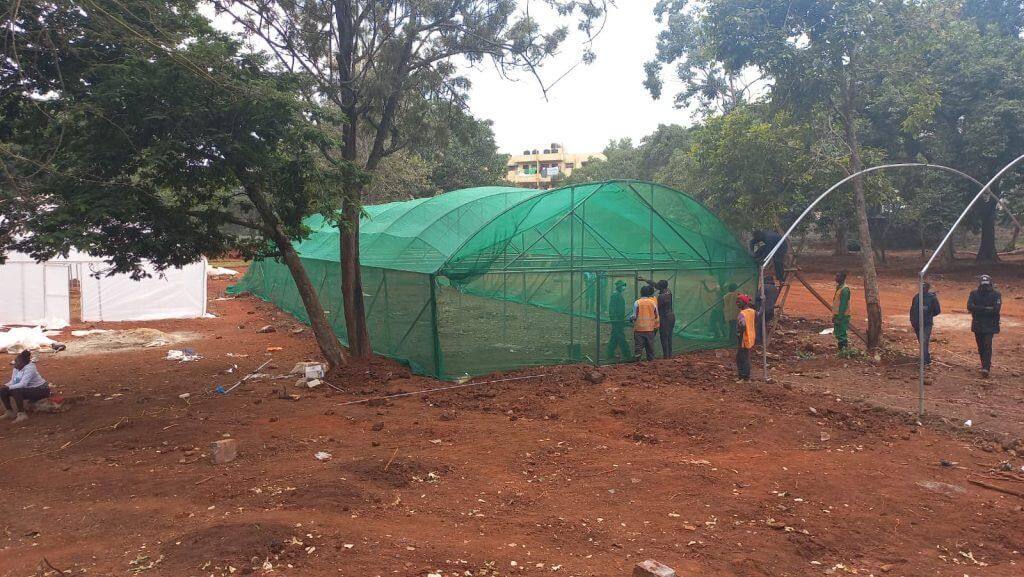
It’s important to note that, before starting the installation, you should take into consideration the direction of the sun, wind and the plants or animals that will be protected.
For nurseries:
-It is important to choose the appropriate shading percentage for the type of plants being grown.
-Consider the direction of the sun, and the time of day when the plants receive the most direct sunlight, and install the shade net accordingly to protect them from sun damage.
-You have to consider the wind direction and install the shade cloth accordingly to protect the plants from wind damage.
-Consider the height of the plants, and make sure the shade net is installed at the appropriate height to provide adequate coverage.
-Regularly check and maintain the shade net, tightening loose ropes and replacing worn or damaged parts as needed, to ensure that it continues to provide effective shading.
What are the benefits of shade nets?
Shade nets offer a wide range of benefits, depending on the application. Some of the main benefits include:
- Protection from UV rays: Shade nets block a certain percentage of the sun’s harmful UV rays, providing protection for plants, animals, and people.
- Temperature regulation: Shade nets help to reduce the amount of direct sunlight that reaches a specific area, which can help to lower temperatures and prevent heat stress.
- Water conservation: Shade nets can help to reduce water loss by slowing down the evaporation process.
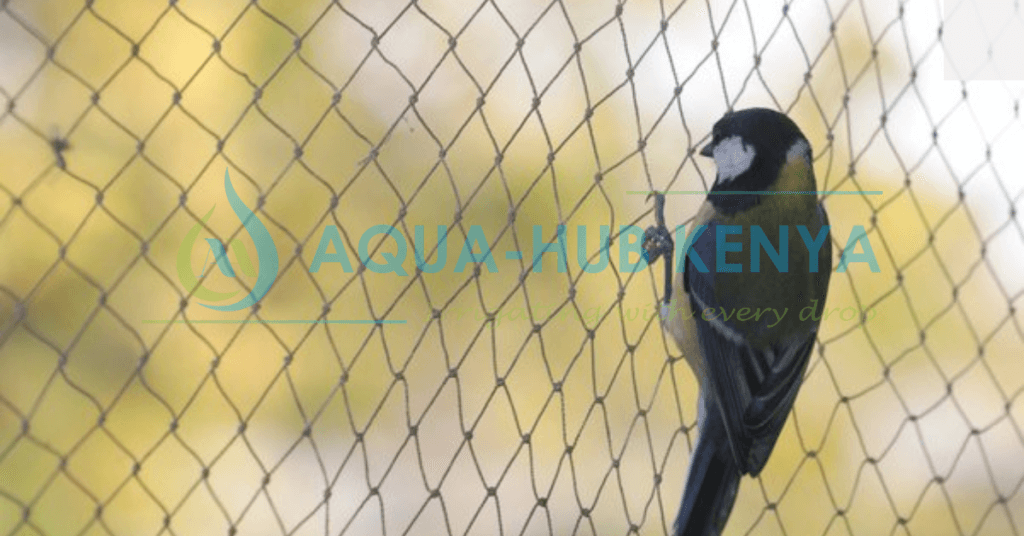
- Pest control: Shade nets can also be used to protect plants from pests, such as birds, and to reduce wind damage.
- Increased crop yield: Shade nets can be used to create a controlled environment for crops, which can lead to healthier plants and increased crop yield.
- Energy savings: By providing shade, shade nets can also help to lower the need for artificial cooling and lighting, which can lead to energy savings.
- Microclimate management: Shade nets are used to create microclimates for plants that are sensitive to specific weather conditions.
- Cost-effective: Shade nets can be a cost-effective solution for protecting plants, animals, and people from the sun’s harmful rays and creating a specific microclimate.
- Versatility: Shade nets can be used in a variety of applications, including agriculture, horticulture, construction, sports, and recreation.
- Durability: Shade nets are typically made of UV-stabilized polyethylene or polypropylene material which are durable and long lasting.
Aqua Hub Kenya is a well-known agricultural net provider, merchant, and installer. We have offices in both Nairobi and Eldoret. We are a reliable supplier of agricultural supplies and management strategies. For more information, please call 0790719020.

