Drip Irrigation in 2022
Drip irrigation is a cost-effective and efficient method of watering your lawn and garden. The irrigation, which is more widespread in drier parts of the country, is gaining popularity in the country. Drip irrigation is 90 percent efficient in allowing plants to utilize the water delivered, unlike other forms of irrigation such as sprinklers, which are only 65-75 percent efficient. It also cuts down on runoff and evaporation. Drip irrigation progressively delivers water to the plant root zone, where it is most required. Drip irrigation is more often applicable in large nursery and agricultural operations, but homeowners are starting to realize its benefits and uses. You may use drip irrigation in your vegetable and perennial gardens, as well as to irrigate trees and shrubs, as a homeowner.
What is a drip irrigation system and how does it work?
Drip irrigation is the most effective way to supply water and nutrients to crops. It provides water and nutrients straight to the root zone of the plant in the precise amounts and at the right times, ensuring that each plant receives exactly what it requires, when it requires it, for maximum growth. It helps farmers to increase yields while conserving water, fertilizers, and energy.
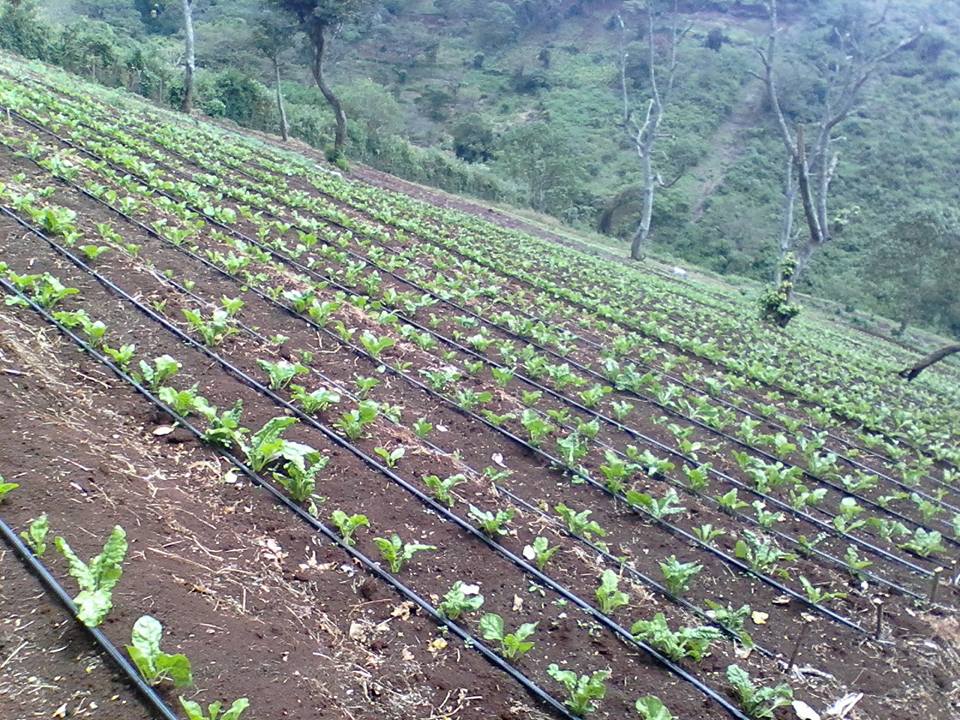
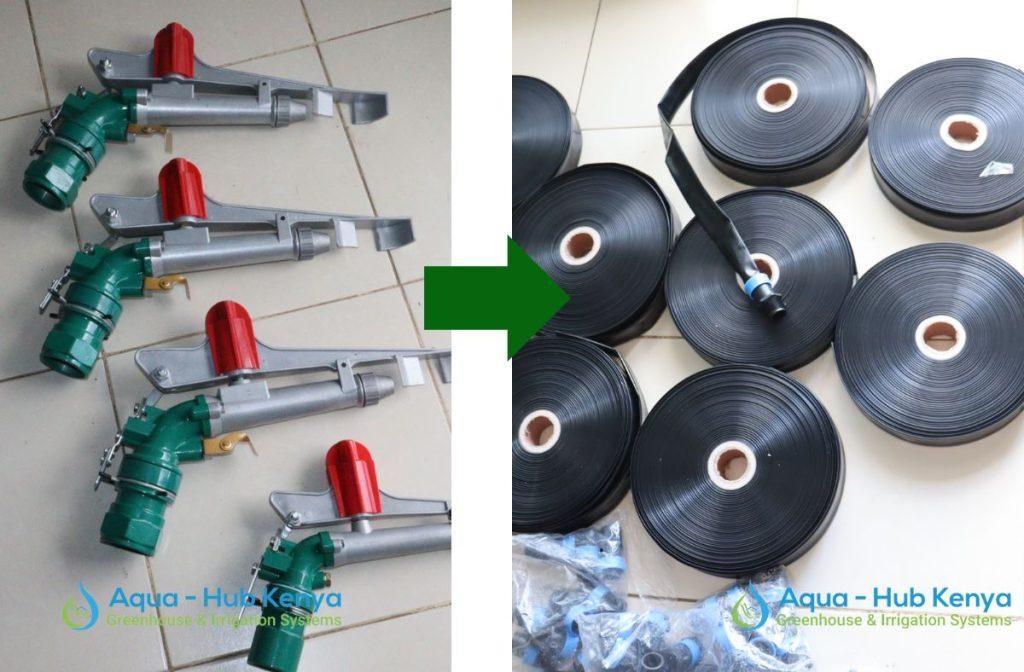
Dripelines, which contain tiny units known as ‘drippers,’ transport water and nutrients over the field. Each dripper produces water and fertilizer-containing drips, resulting in consistent water and nutrient delivery to each plant’s root zone over an entire field.
What are the Advantages
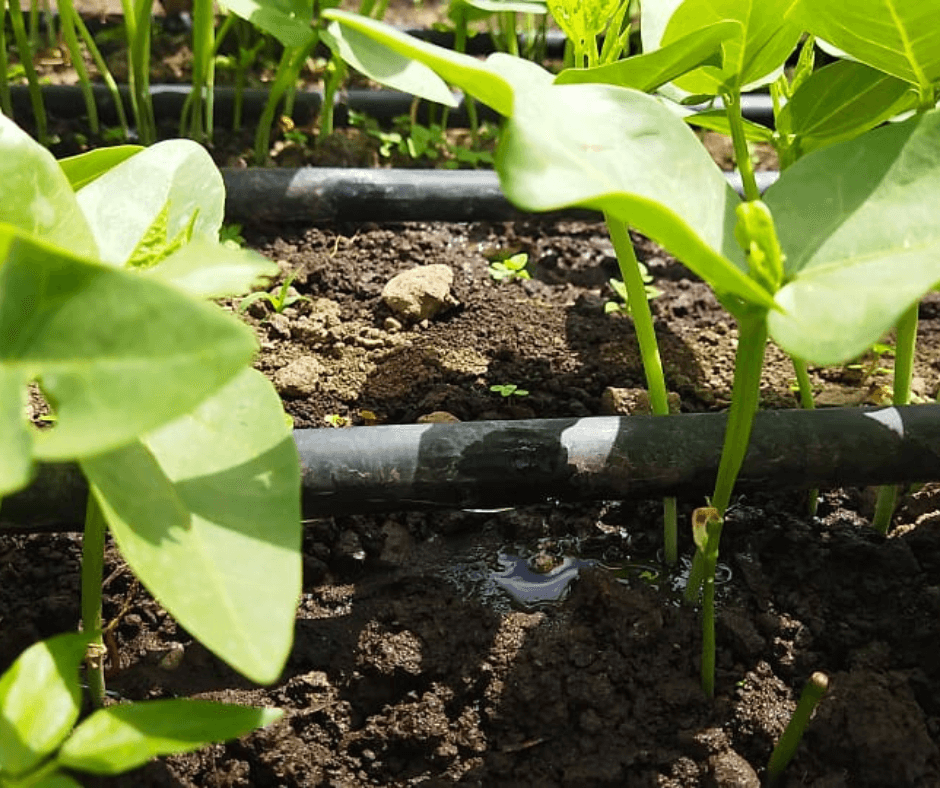
Drip irrigation entails laying tubing with emitters next to the plants on the ground. The emitters trickle water into the root zone of the soil gently. Plant production and quality improve when moisture levels are at an appropriate level. Drip irrigation is also useful:
- Minimizes water contact with plant leaves, stems, and fruit to prevent disease.
- Allows the rows between plants to stay dry, allowing for easier access and less weed development.
- Because the system is so efficient, it saves time, money, and water.
- Reduces the amount of time spent working.
- When used on uneven terrain, it improves efficacy.
- Reduces water and nutrient loss below the root zone.
How to put drip irrigation system
Farmers can use Aqua Hub’s instructions to build drip irrigation systems as a guidance. It’s easier to manage a drip irrigation system if you know how to set it up. Our instructions for installing drip irrigation systems are in details and simple to follow.
Survey of the location
It shows how the drip irrigation system is laid out. The size of the land, the slope’s direction, and the gradient’s height are all important factors to consider. The determination of main pipe and sub-main pipe diameters is by the land size.
Identification of the source of water
Is this drip irrigation driven by gravity or by a water pump? The determination of the size of the blocks and the number of hydrants we will require is by the amount of water available. The determination of filter type is also by the purity of the water and the type of pressure.
Placing of pipes
Trenching is applicable for subsurface PVC main and sub-main lines. Unless the farmer chooses to bury them, HDPE pipes are surface pipelines.
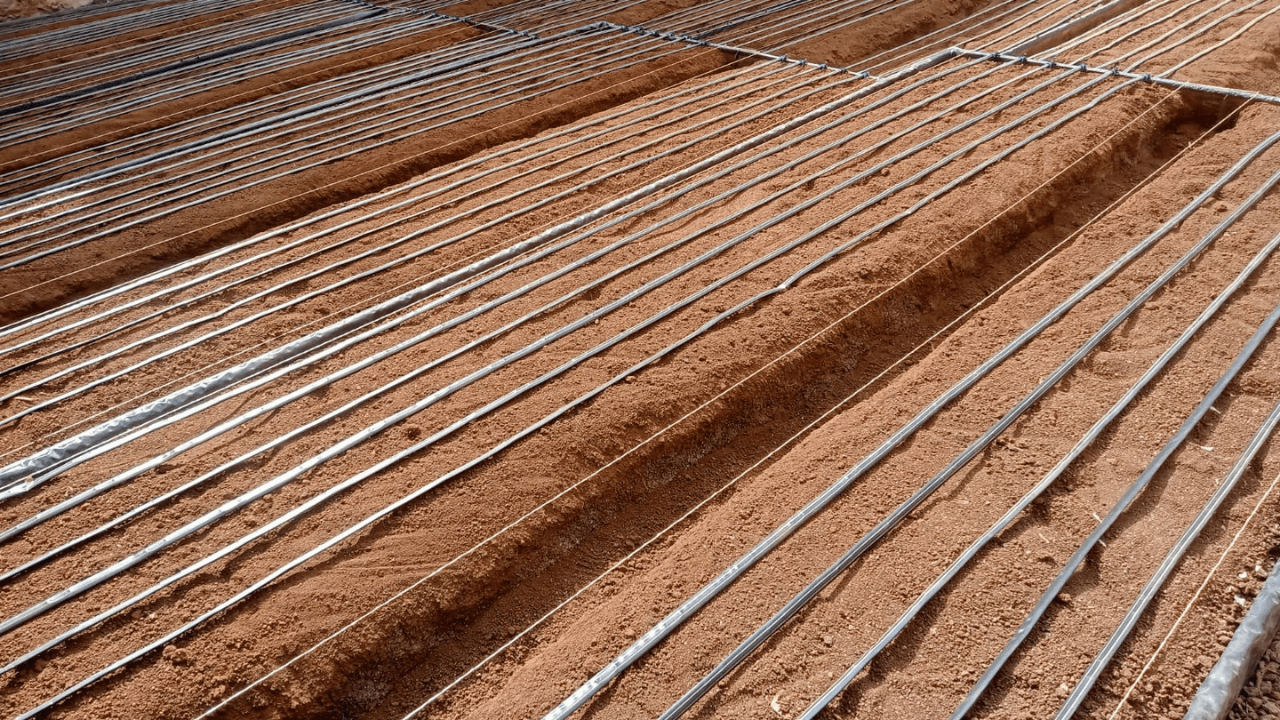
Drip irrigation drip lines are laid. How to put drip irrigation tubing together.
Vegetables irrigation. A 30 cm long 16 mm HDPE pipe will link your drip lines to the sub-surface PVC sub-main pipes. A starting connector connects the 16 mm HDPE pipe to the PVC pipe. The connection of drip tape is to the 16 mm HDPE pipe via an offtake connector. The drip line comes to a conclusion with the end cap. When a drip tape is torn or two drip tapes are connected, a drip to drip connection is applicable.
Irrigation of fruit trees A starting connection will link your 16mm HDPE pipe to the sub-surface PVC or HDPE sub-main pipes. The 16mm HDPE line ends at the end of the end line. On broken HDPE pipe or when two HDPE pipes connect, a PE to PE connection is also applicable. Each tree’s 16mm HDPE is fitted with online button drippers. This is how drip emitters are connected.
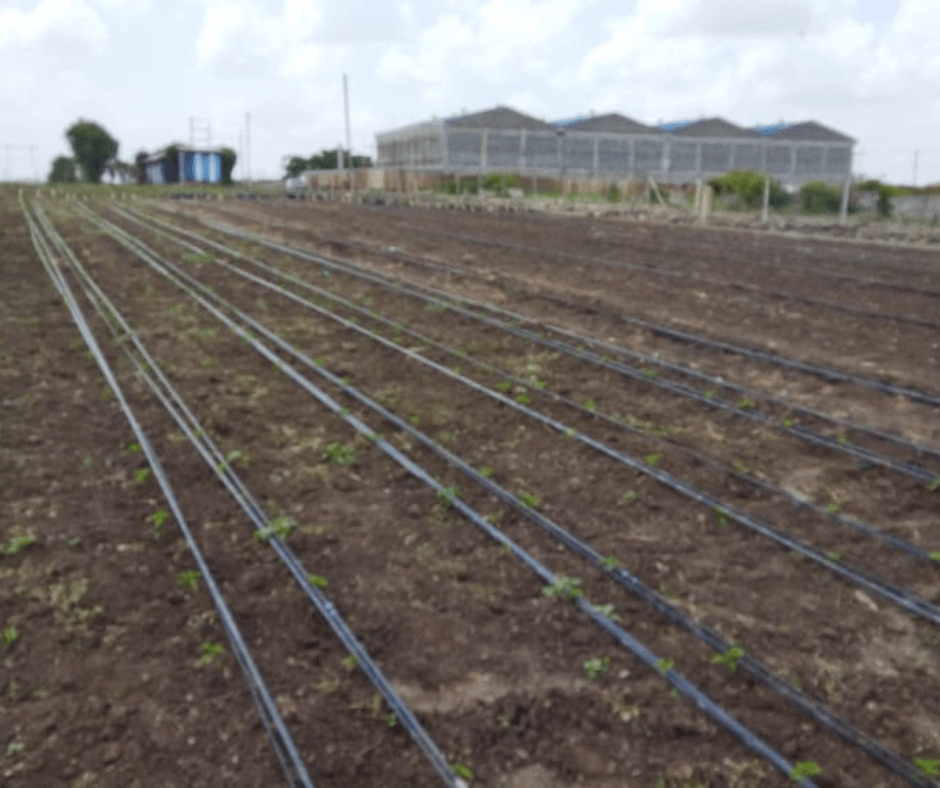
How to make a simple drip irrigation system
It’s actually rather simple to convert a standard hose into a soaker hose for your garden or lawn! A hose, a cap to put on the end, and a drill to create some holes are all you need. When you put the cap on the hose, the water will push its way out of the holes, so if you snake the hose through your plants, the water will be uniformly distributed.
Make regularly spaced holes all along the same side of the hose with a 14-inch-wide drill bit. If your garden is very large, you may want to consider adding a second hose. Once everything is in place, turn on your hose just a little to get the water to trickle out. This is a drip system, not a geyser, so don’t turn it on full force.
Depending on how much rain you’re having, leave it on for approximately half an hour at a time and run it every couple of days. If you’re afraid about forgetting about it and keeping it on for too long, you can buy a timer that will automatically turn it off.
How to make a cheap drip irrigation system
While sophisticated drip irrigation systems may irrigate huge agricultural areas using underground or above ground networks of tubing or pipe, setting up your own backyard DIY drip irrigation system is straightforward and affordable.
- Place the Garden Hose in the desired location. Plants should be surrounded by a garden hose.
- Connect the hose cap. Attach a hose cap to the hose’s end.
- Emitter Holes should be created. At the proper places, drill or punch tiny emitter holes in the hose. Make sure you just drill through one side of the hose.
- Optional: Backflow Preventer Valve should be used. To prevent water from flowing back into the water supply, install a backflow preventer valve on the faucet.
- Connect your tools together. The hose should be connected to the faucet or backflow preventer.
- Turn on the water. Slowly turn on the water until you achieve the correct pressure.


