Drip Lines Irrigation

Drip Line Irrigation is a low-cost, high-efficiency way of irrigating your crops. Drip irrigation has been used by some farms in Kenya. This is due to their discovery of the great effectiveness of this irrigation technology. The technology helps farmers save water while increasing productivity. Drip irrigation saves 30 to 50% of the water used by spray irrigation while boosting crop output by more than 30%. Drip line irrigation is also a simple and consistent way of allowing water to trickle through the roots of plants. Water intake is calculated in an equal percentage for all plants. Aqua Hub Kenya uses basic irrigation technology in Kenya.
What is drip line irrigation?

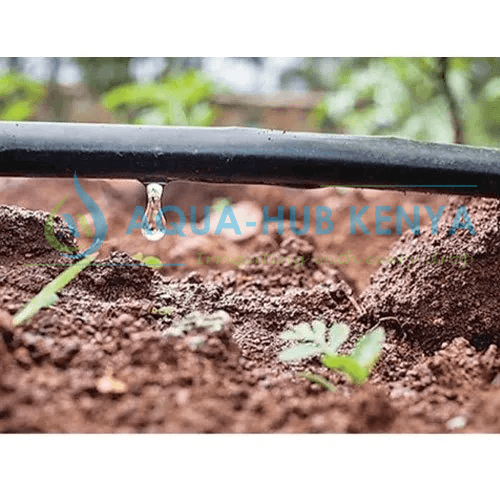
Drip line irrigation, also known as trickling irrigation, includes the application of water to the soil at extremely low rates (2-20 liters/hour) using a network of tiny diameter plastic pipes connected with emitters or drippers. In contrast to surface and sprinkler irrigation, which wets the whole soil profile, water is applied near to plants, watering just the soil in which the roots develop. Drip irrigation water treatments are more frequent than other systems (typically every 1-3 days), resulting in a highly advantageous high moisture content in the soil where plants may grow.
How to install drip lines
Farmers can utilize Aqua Hub’s drip irrigation system instructions as a guideline. A drip irrigation system is easier to handle if you know how to put it up. Our drip irrigation system installation instructions are detailed and easy to follow. The following are some of the steps in installing drip line irrigation:
- If gravity flow is used, connect the main pipe to the water source. If you’re pumping water, go to the water pump.
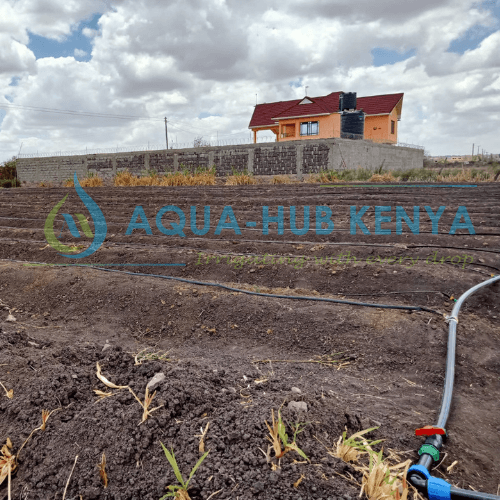
- Lay the main pipe to the farm on the surface or bury it in a trench. Surface pipes are made of HDPE. Subsurface pipes are made of PVC and HDPE.
- Connect the farm’s smaller sub-main pipes to the main pipe. Sub-main pipes are smaller in diameter to maximize system pressure flow. Use tees, elbows, valve sockets, and/or saddle clamps to connect.
- Link the drip lines to the main lines. On the sub-main line, drill 16mm holes. Apply a rubber, then a starting connection. Connect the starting connector to a 16mm HDPE pipe. Then an off-take connector to the opposite end of the 16mm HDPE pipe.

How long should drip lines run
Drip lines come in 0.3mm and 0.4mm thicknesses. Each drip tape thickness has either a 15cm, 20cm, or 30cm double emitter spacing. Maximum drip line length is governed by available head, with a minimum system pressure of 3m and a maximum system pressure of 20m. This tube is necessary in a drip system, but too much of it causes maintenance issues. Limit the length of 14 tubing used per run to no longer than 12 inches. LIMITS ON RUN LENGTH: 12 inch tubing has a length of up to 200 linear feet. 14 inch tube should not be longer than 19 feet.
When installing a drip system, it should be constructed with the ability to adjust the number of emitters and their position in the landscape. Without runoff, each emitter should provide at least a 30-minute run duration. Most drip tape systems produce 14 gallon per hour per emitter. Drip line systems may produce 12 gallon or 1 gallon of water per emitter, or even more, depending on what you are watering.
How does drip irrigation work
Drip irrigation entails laying down tubes with emitters next to the plants. The emitters steadily trickle water into the root zone of the soil. Plant production and quality improve as moisture levels are managed within an ideal range. It works by exposing the roots to direct water supply. This strategy is aided by the use of drip emitters, which discharge water slowly and steadily. Drip emitters are tiny, around the size of a quarter, and are normally placed in rows on the ground.
