10 Steps for Shade Net Installation (For Nurseries)
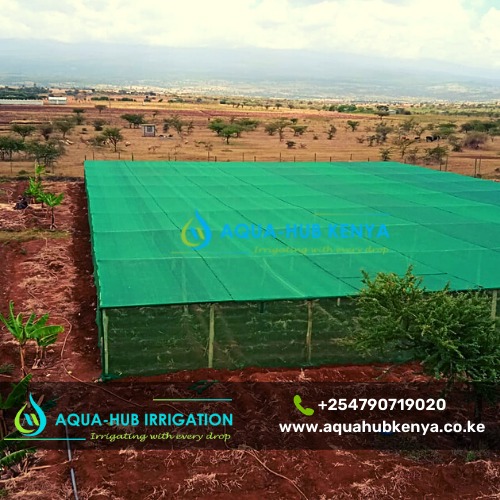
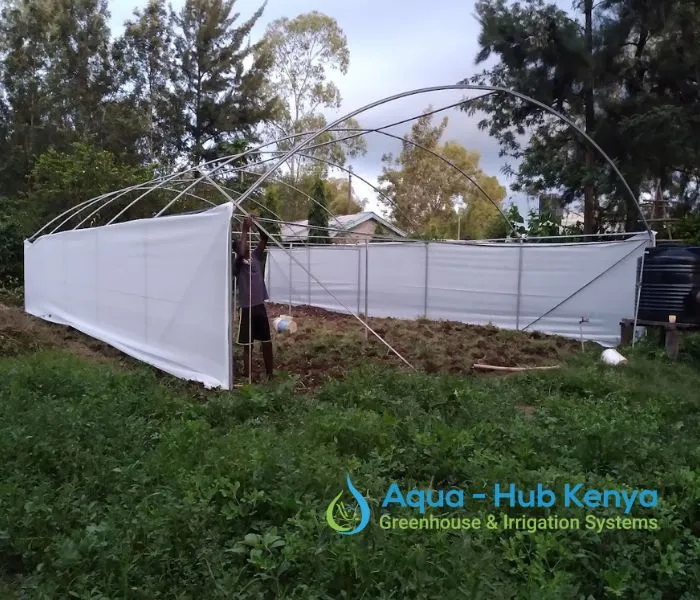
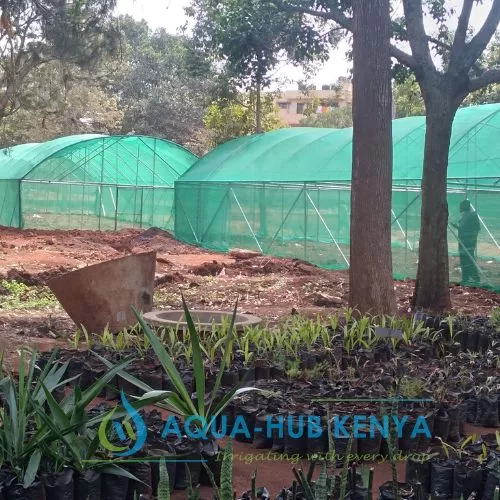
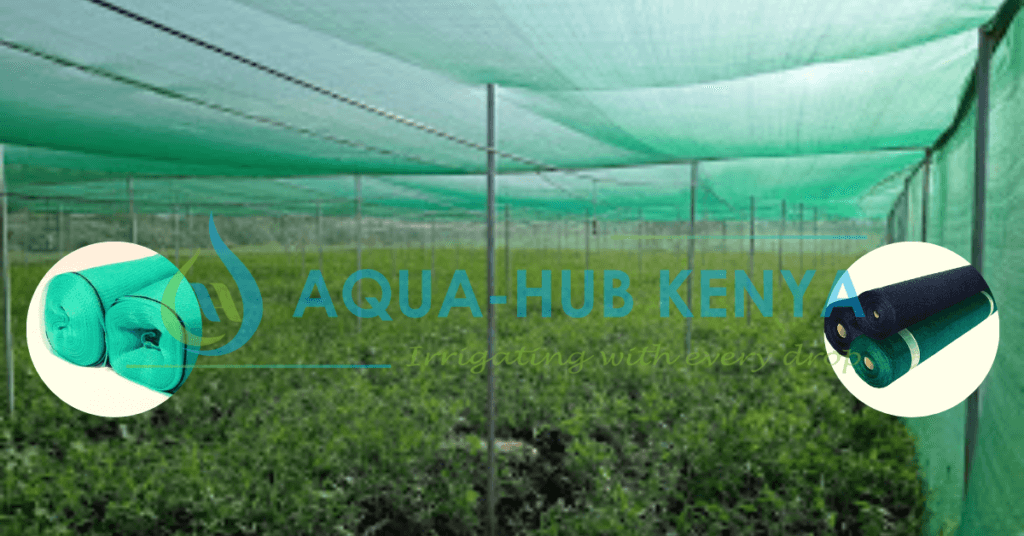
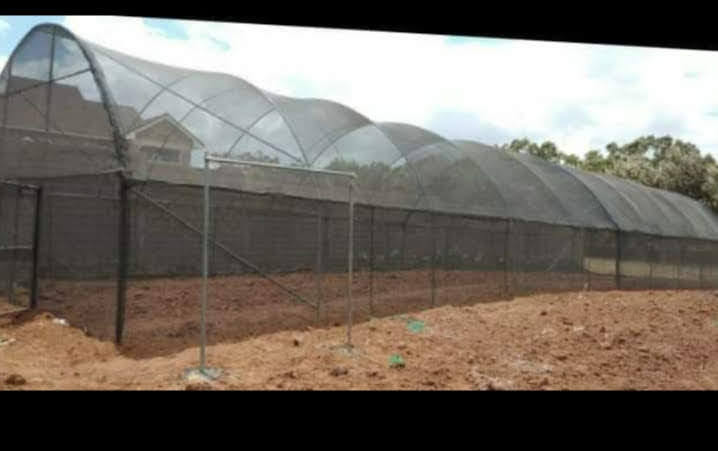
Shade Net is a one-of-a-kind way to increase the quality of your plants. Shade Net is a durable, flexible shade netting that can be bent to fit greenhouses, raised beds, and vegetable gardens.
It shields all of the plants in your nursery from the sun. If you’re serious about your nursery, you’ll want to make certain that your plants are kept safe.
What is a nursery shade cloth?
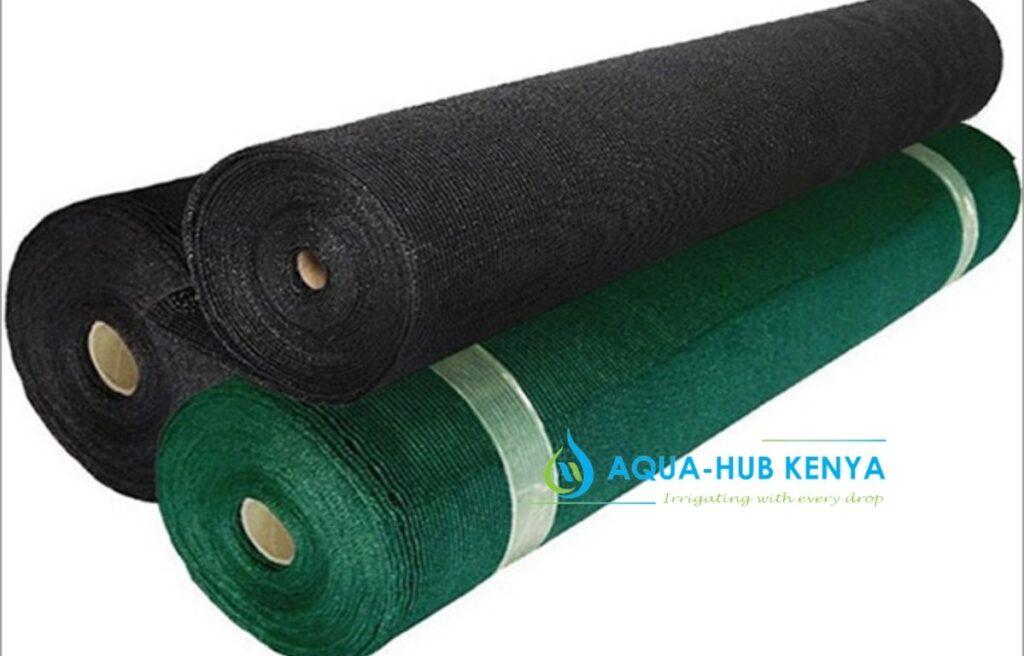
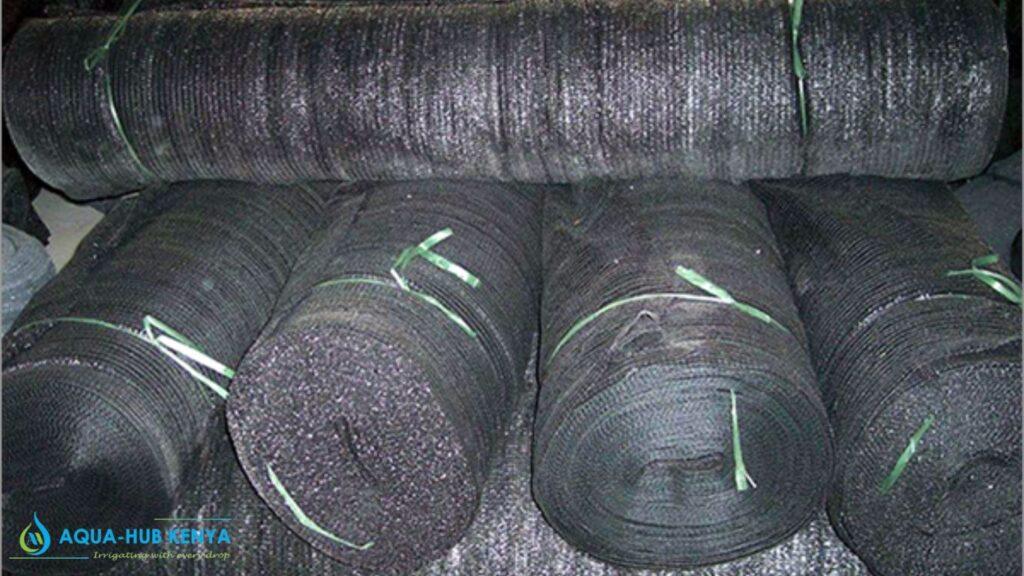
A nursery shade net is an excellent method to keep your plants healthy by shielding them from damaging sunlight. It is available in a variety of materials, forms, and sizes.
It is a thin cloth that prevents sunlight from reaching your crops. Shade cloth is a long-lasting and adaptable textile that may be utilized in a variety of ways in your nursery.
Installation Process
1. Select and prepare your land
Your nursery location must be suitable and in good shape.
2. Prepare the tools and equipment to be used
These are the tool lists you’ll need to install the nursery shade cloth:
- A meter tool for adjusting the size and measurement of shade cloth in relation to its frame.
- Scissors to be used to cut shade cloth and iron wire.
- A ladder that makes it easier to reach high places.
You are now ready to begin working on the shade cloth for the vegetable garden after preparing the materials and tools.
3. Set the physical layout of the nursery
We cut distorted poles to around 40cm in length and use them as pegs in the corners of our nursery. Place them in every location where we intend to install a wooden pole.
4. Dig the holes
Dig holes in order to erect our wooden poles. The holes should be somewhat larger than 150mm (15cm) in diameter and 600mm deep (60cm). They should be able to accommodate the poles that will be utilized.
5. Cutting the poles
In this stage, you must ensure that the shade fabric is properly sized. If it’s not the appropriate size, it’ll appear sloppy and you won’t be able to utilize it as intended.
Complete the following to get an exact measurement:
- To determine the size of the shade fabric, use the meter tool.
- Cut the shade cloth to the appropriate size.
6. Constructing the shade structure
Place the poles in the holes. Ensure the treated parts are the ones in the holes. After placing all of the poles in their corresponding holes, compress the earth to ensure that the poles stand strong and straight upright.
Now nail the holes together to join them. The nails should be 6 inch long and its best to use stainless steel nails.
7. Determining the cloth size
In this stage, you must ensure that the shade fabric is properly sized. If it’s not the appropriate size, it’ll appear sloppy and you won’t be able to utilize it as intended.
You should complete the following to get an exact measurement:
- To determine the size of the shade fabric, use the meter tool.
- Cut the shade cloth to the appropriate size.
8. Install side nets with terraces
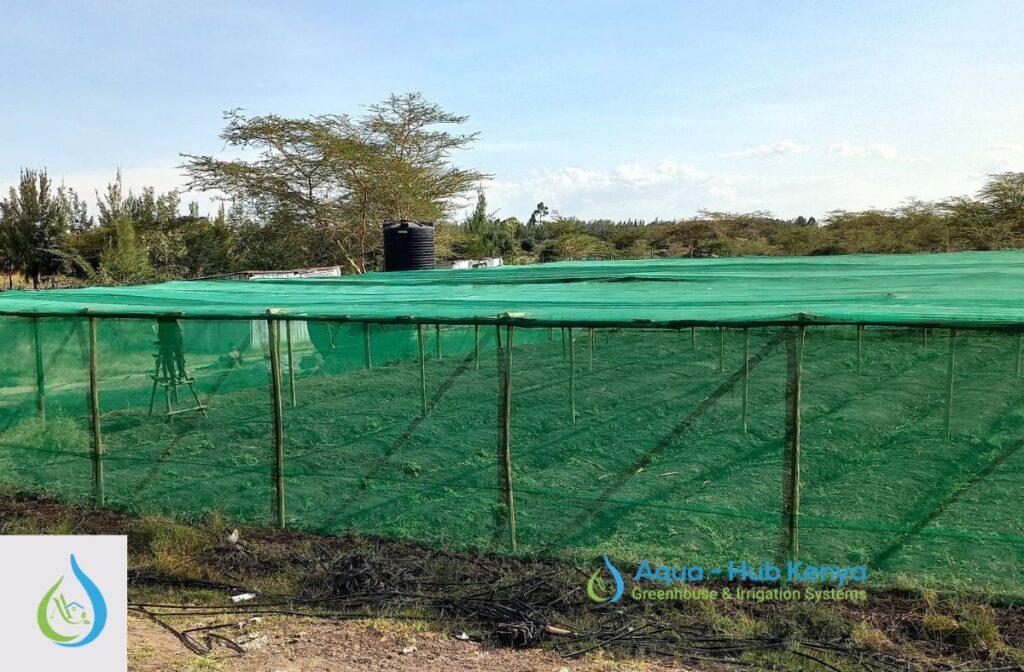
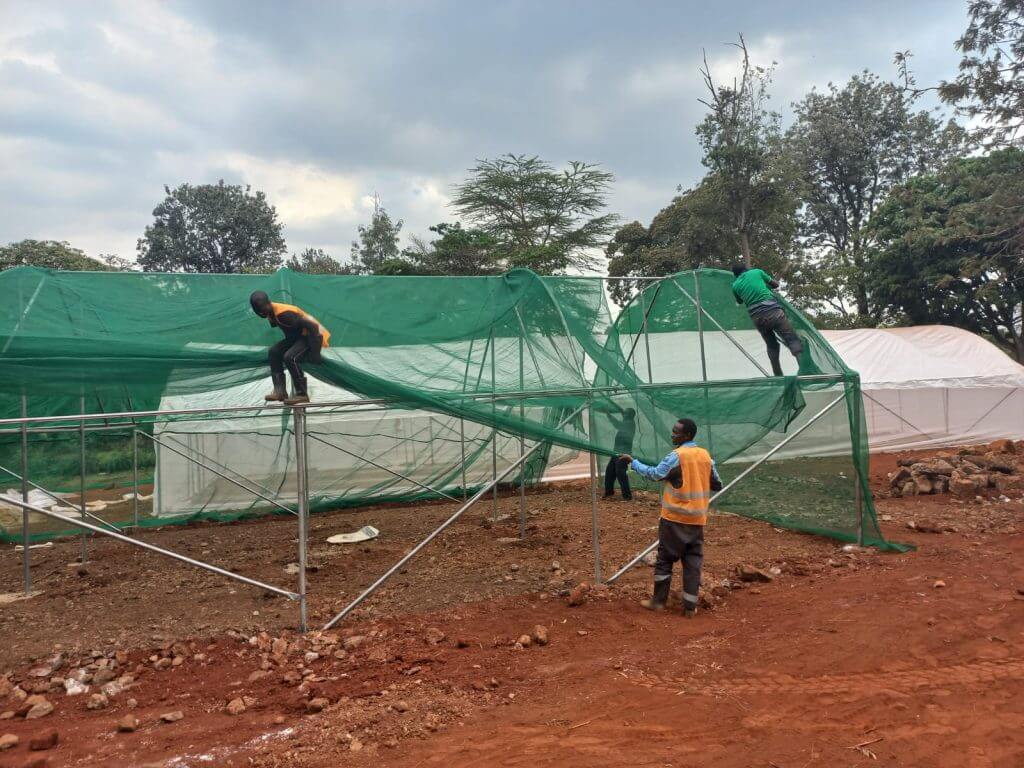
Carefully put the side nets around the structure. Check that the fabric is securely fastened to the frame.
9. Install the roof nets.
Place the roof netting carefully above the structure. Make sure the fabric is firmly attached to the frame.
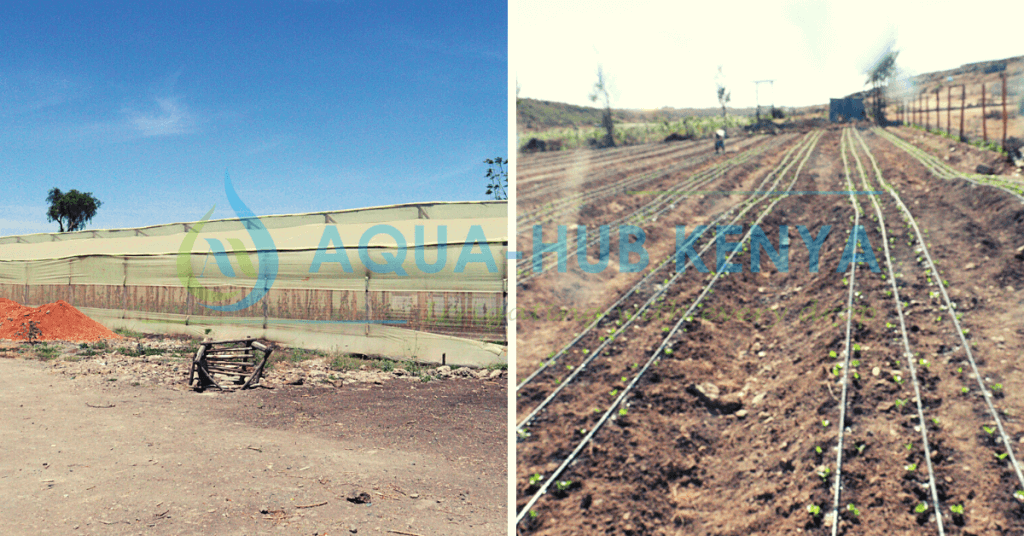
10. Install drip kits inside your nursery
For irrigation purpose in the nursery, make sure that you install a drip irrigation kits. Put the basic pieces together appropriately.
Step by Step Guide
Let me summarize it to make it simple:
| Number | Step |
| Step 1 | Select and prepare your land |
| Step 2 | Prepare the tools and equipment to be used |
| Step 3 | Set the physical layout of the nursery |
| Step 4 | Dig the holes |
| Step 5 | Cutting the poles |
| Step 6 | Constructing the shade structure |
| Step 7 | Determining the cloth size |
| Step 8 | Install side nets with terraces |
| Step 9 | Install the roof nets |
| Step 10 | Install drip kits inside your nursery |
Our Prices
| Mesh rate | Dimension (meters) | Cost (KSH) |
| 30% | 4 x 50 m | Ksh 13,000 |
| 55% | 4 x 50 m | Ksh 16,000 |
| 75% | 4 x 50 m | Ksh 19,000 |
| 95% | 4 x 50 m | Ksh 30,000 |

